"What's Galentine's Day? Oh it's only the best day of the year... ladies celebrating ladies! February 14th , Valentine's Day, is about romance. But February 13th, Galentine's Day, is about celebrating lady friends. It's wonderful and should be a national holiday" | |
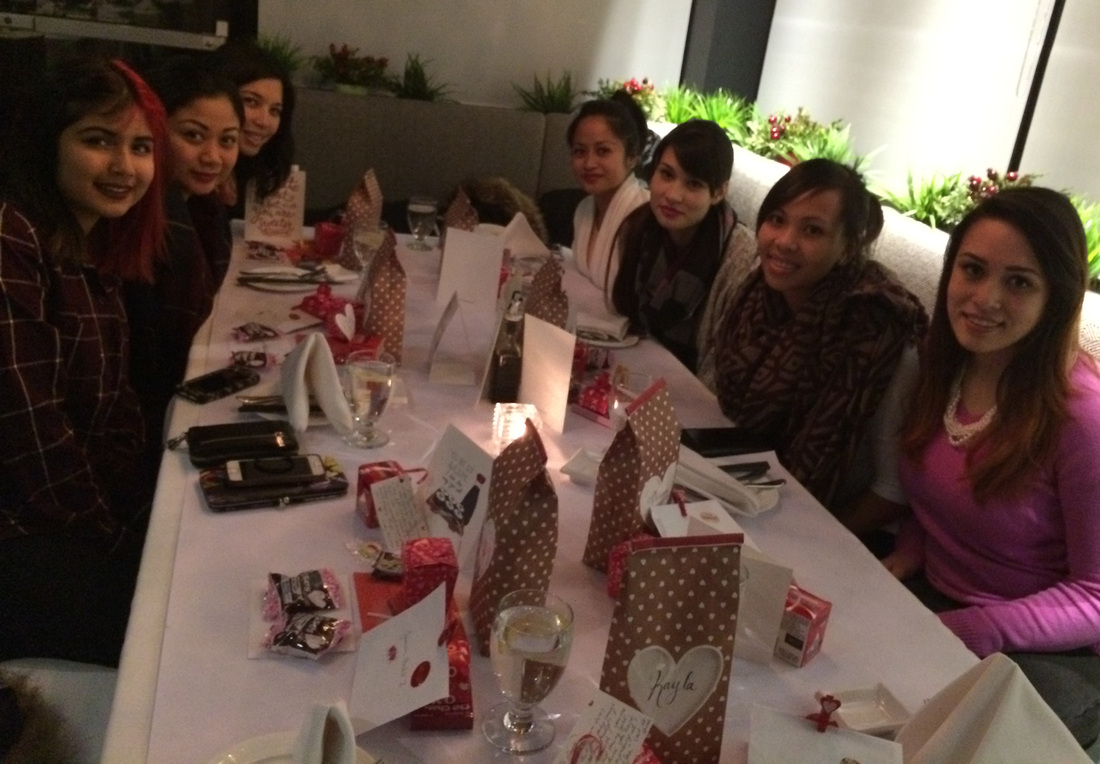
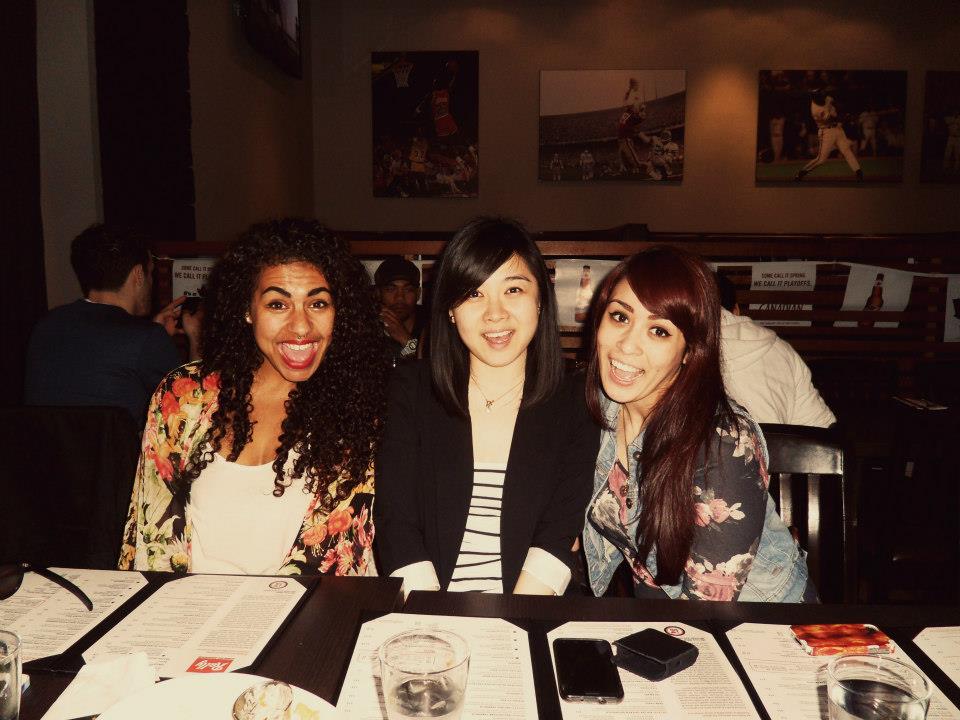
You don't have to celebrate Galentine's day exactly on February 13th,you can celebrate Galentine's Day any day of the year if that suits you best! My group normally picks a day that works for everyone during the week before Valentine's Day. As much as I would love to have a big party with all the ladies in my life and decorate everything with pink and hearts, we have just kept it small and chosen to go to a restaurant for dinner the past two years because it means we don't have to cook or clean up after our get together.
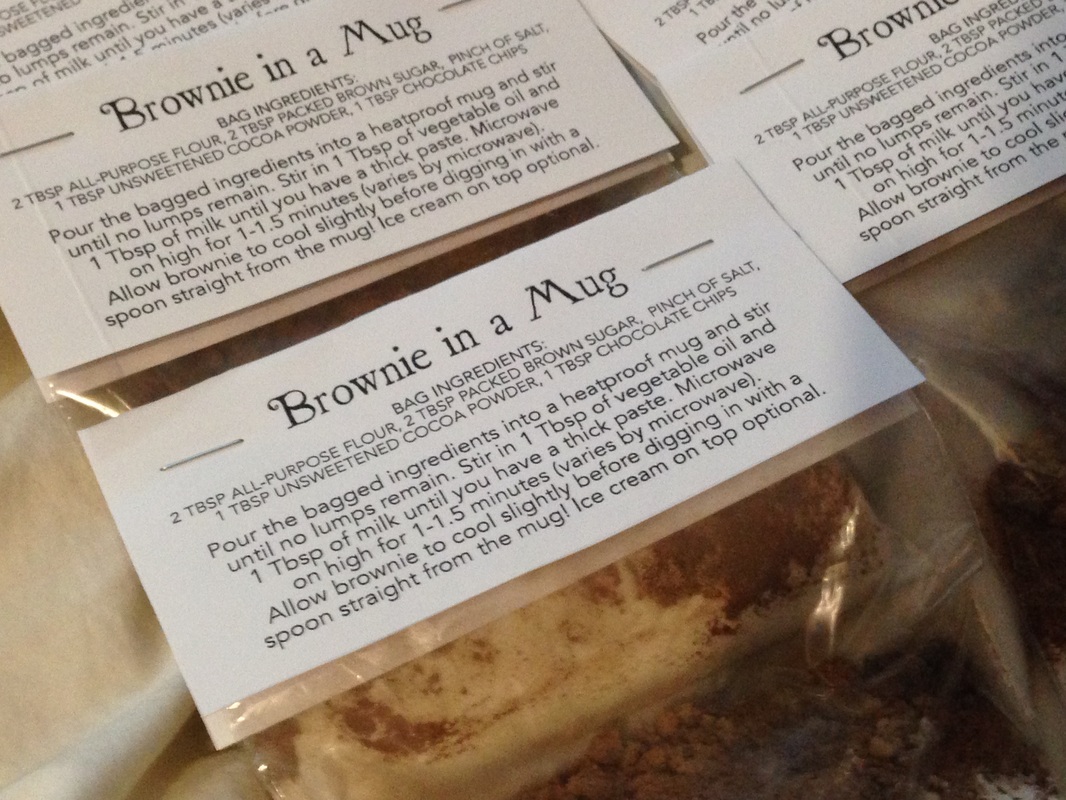
This is a breakdown of what I included in my Galentine's Goodie Bags (and a few extra ideas for you too). I love this idea and might possibly do something similar next year... we'll see!
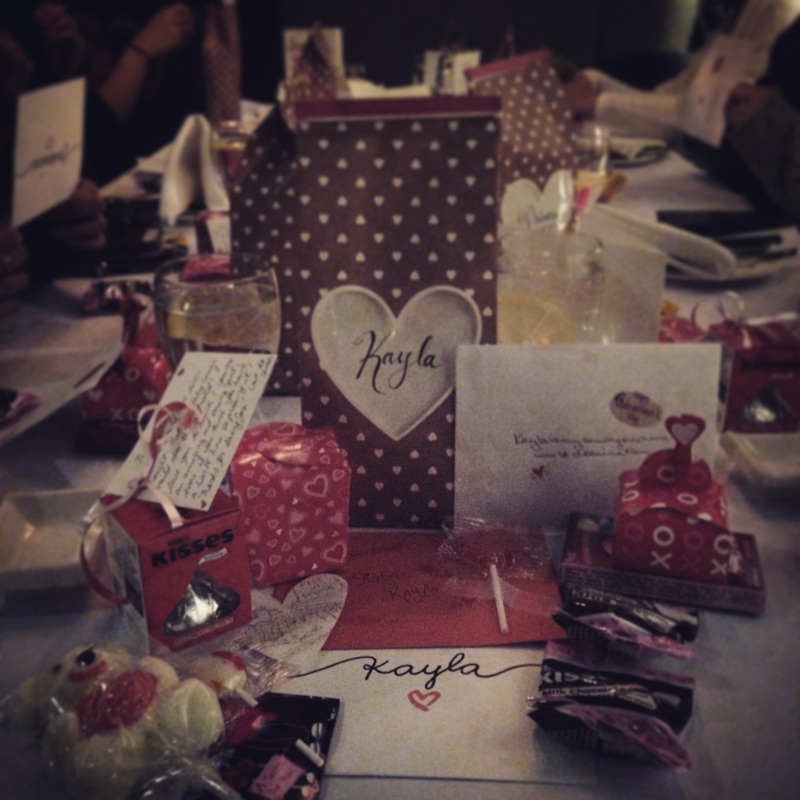

Galentine's Goodie Bag Ideas
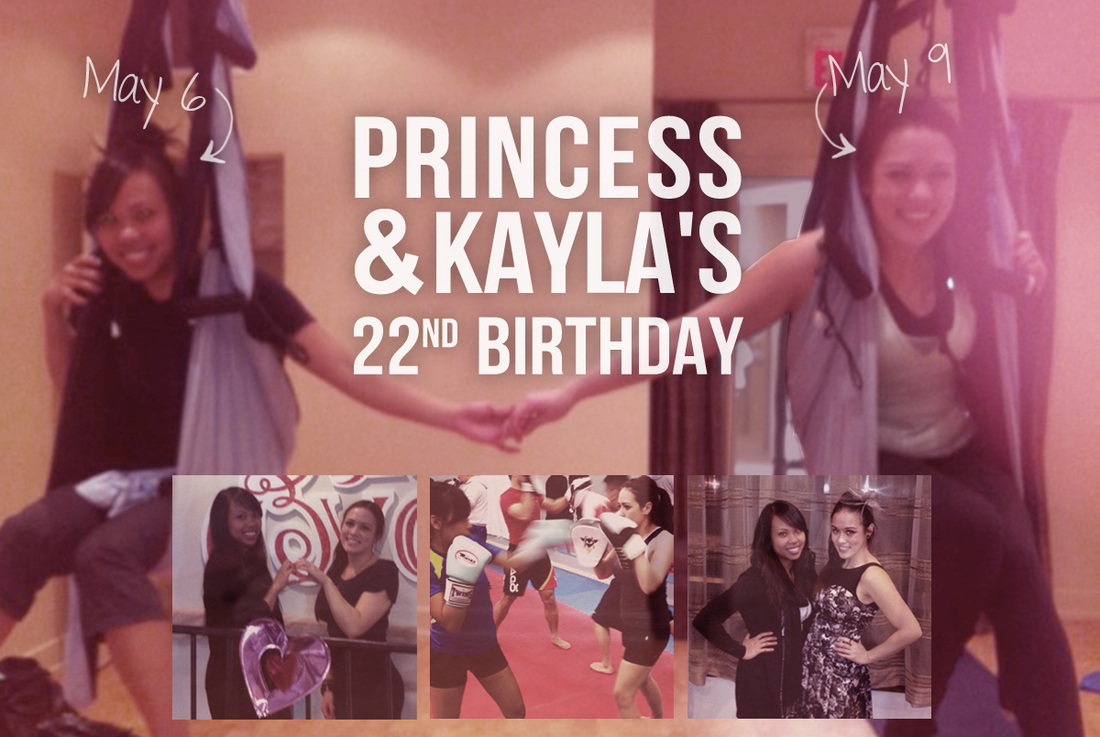
-cute bag to hold all your goodies (I used the cute brown bags with heart cutouts from Michaels that you see in the first picture of this post)
-chapstick
-tweezers
-candle
-socks
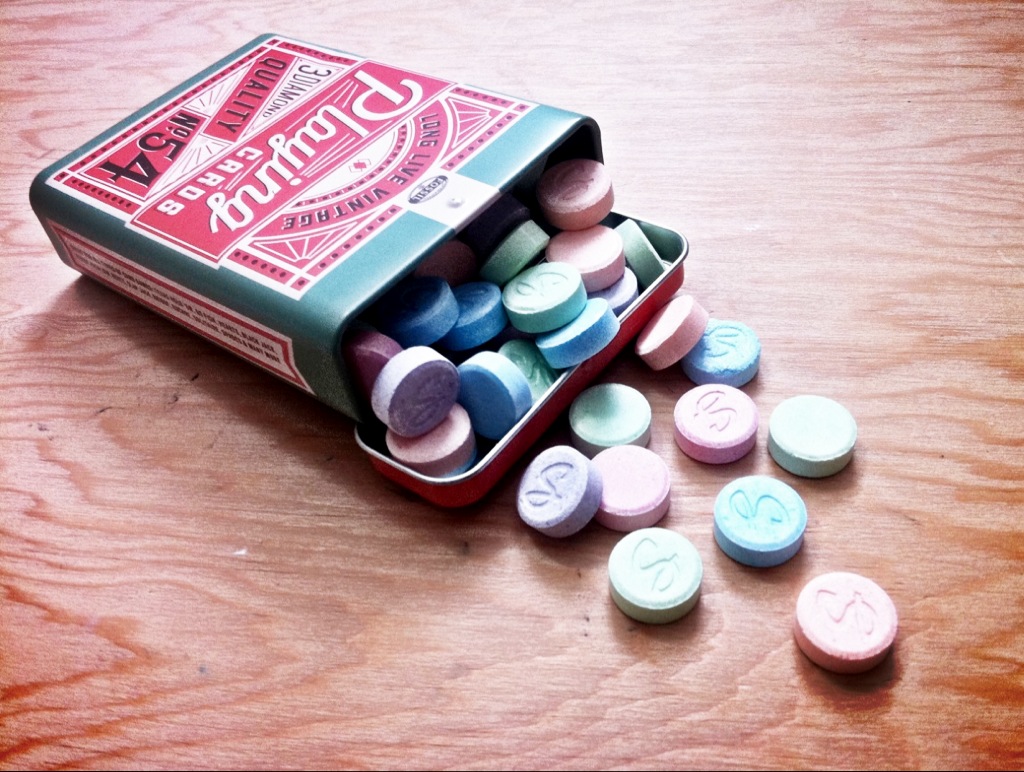
-pink and heart shaped candies
-David's Tea Love Tokens
-nail polish
-manicure set
-chocolate
-jewelry
-personalized mugs
-soaps
-homemade heating pad
-homemade sugar exfoliator


 RSS Feed