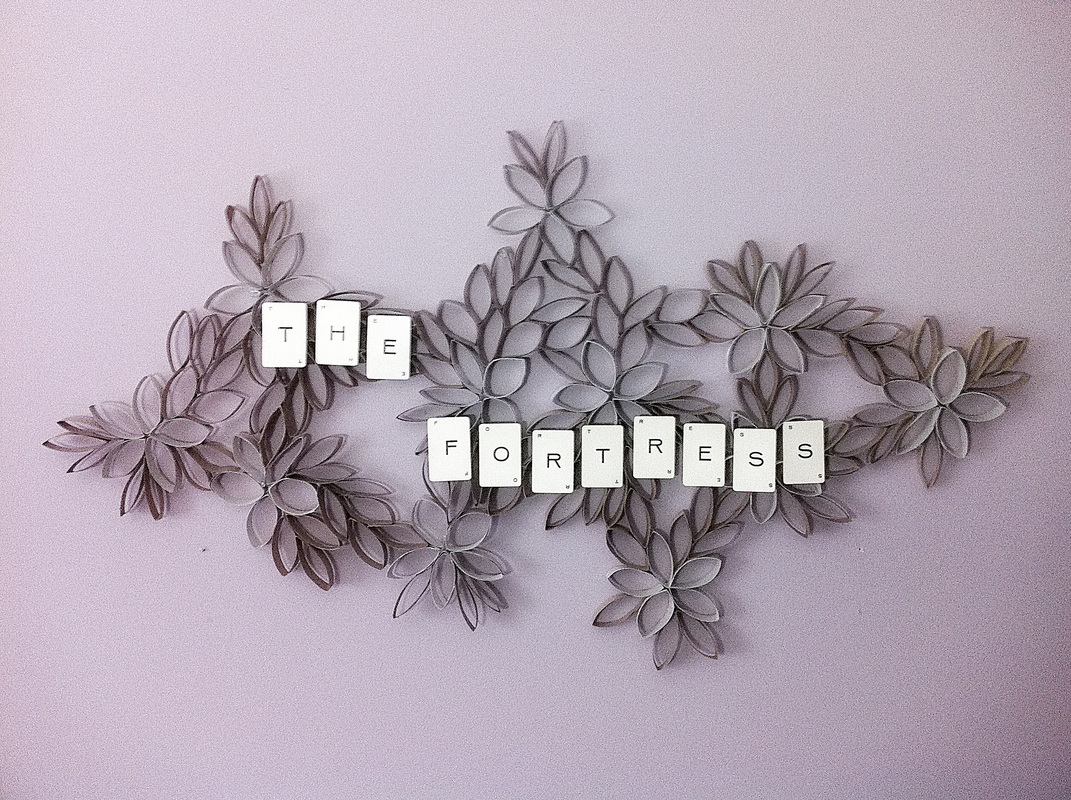
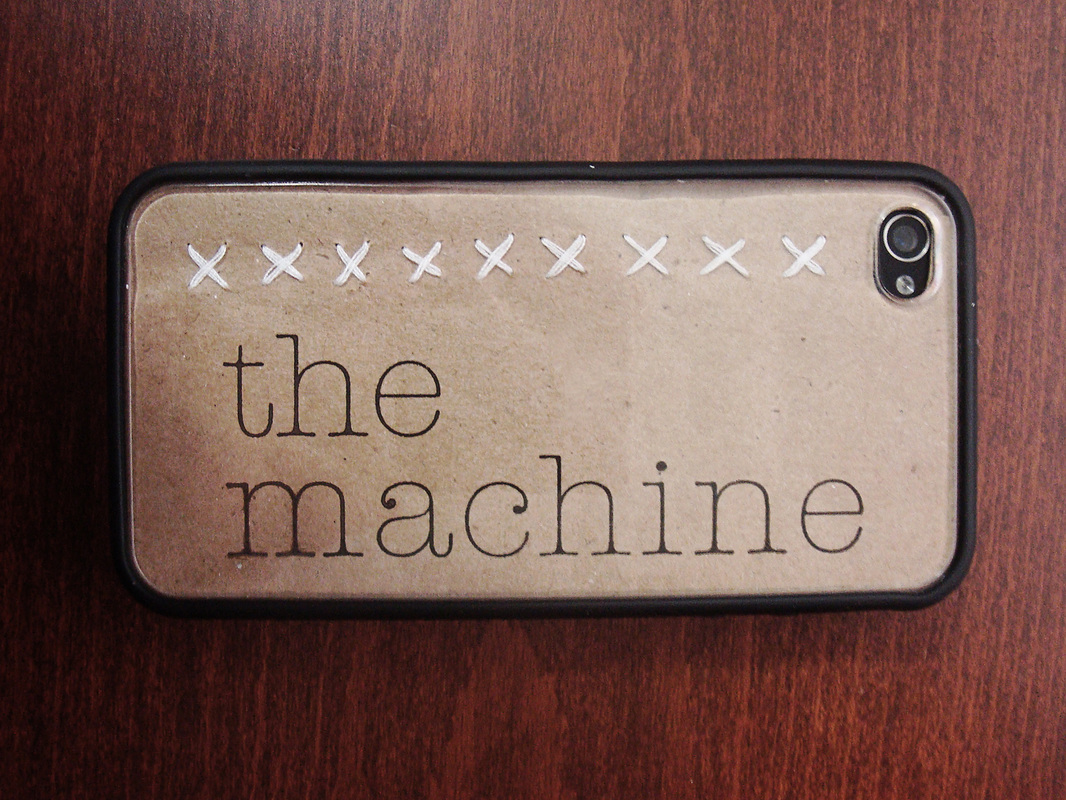
I've had this piece I made hanging on my wall for a while now, but recently decided to add a little something to it. Using a bit of double sided tape I added the vintage letter cards I bought from a shop on Etsy a while ago. But it hung on my wall plain for several months and I've gotten lots of compliments on it. As you have probably noticed, my favourite thing in the world is craft paper (cardboard, paper bags, etc) so what better to make decoration of my wall from than the rolls that your toilet paper/paper towels come on!
All you need is:
-lots and lots of toilet paper/paper towel rolls
-hot glue gun
-scissors
-patience
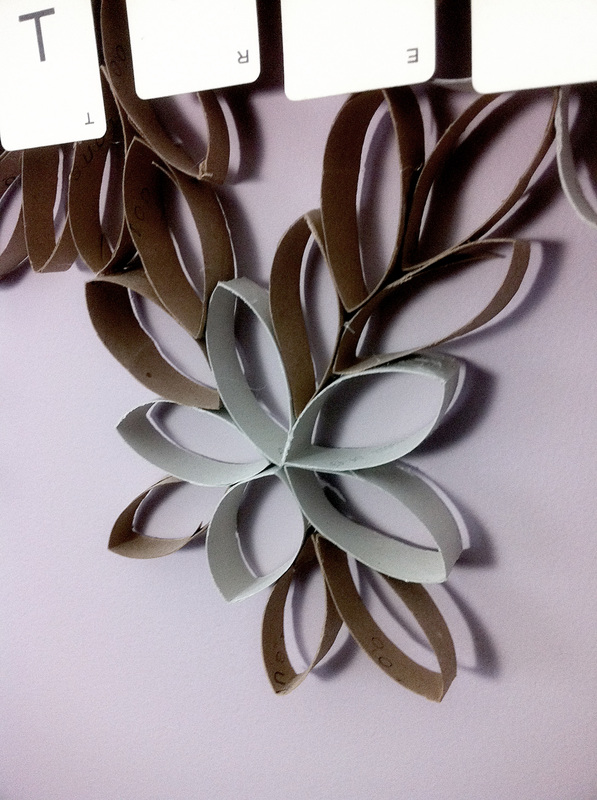
1. I decided to keep my flowers white (using toilet paper rolls) and my leaves brown (using paper towel rolls) but if you can always paint your rolls before cutting them if you want to add colour. Let them dry before doing step 2.
2. Flatten, measure, and cut the paper rolls into even pieces (Measure!! If you don't, your decoration won't lie as nice...I know this because I didn't measure). I would suggest about half inch pieces.
3. Make how ever many flowers you want by hot glueing 5 pieces together.
4. Build your decoration by working on a table (again, speaking from experience, if you don't, it probably won't lie flat on the wall once you're done). Lay out the flowers and piece by piece add the other coloured pieces as leaves branching out. Be creative, you can make it any shape, with as many or as little flower and leaves, and make it as big as you'd like.
5. Optional: Add any other decorations to it if you want, like cut outs of birds, buttons, anything really. I added my vintage cards spelling the words 'The Fortress' . You of course, can just leave it plain as well.
6. Hang it with a few clear thumbtacks or nails.
-hot glue gun
-scissors
-patience
1. I decided to keep my flowers white (using toilet paper rolls) and my leaves brown (using paper towel rolls) but if you can always paint your rolls before cutting them if you want to add colour. Let them dry before doing step 2.
2. Flatten, measure, and cut the paper rolls into even pieces (Measure!! If you don't, your decoration won't lie as nice...I know this because I didn't measure). I would suggest about half inch pieces.
3. Make how ever many flowers you want by hot glueing 5 pieces together.
4. Build your decoration by working on a table (again, speaking from experience, if you don't, it probably won't lie flat on the wall once you're done). Lay out the flowers and piece by piece add the other coloured pieces as leaves branching out. Be creative, you can make it any shape, with as many or as little flower and leaves, and make it as big as you'd like.
5. Optional: Add any other decorations to it if you want, like cut outs of birds, buttons, anything really. I added my vintage cards spelling the words 'The Fortress' . You of course, can just leave it plain as well.
6. Hang it with a few clear thumbtacks or nails.
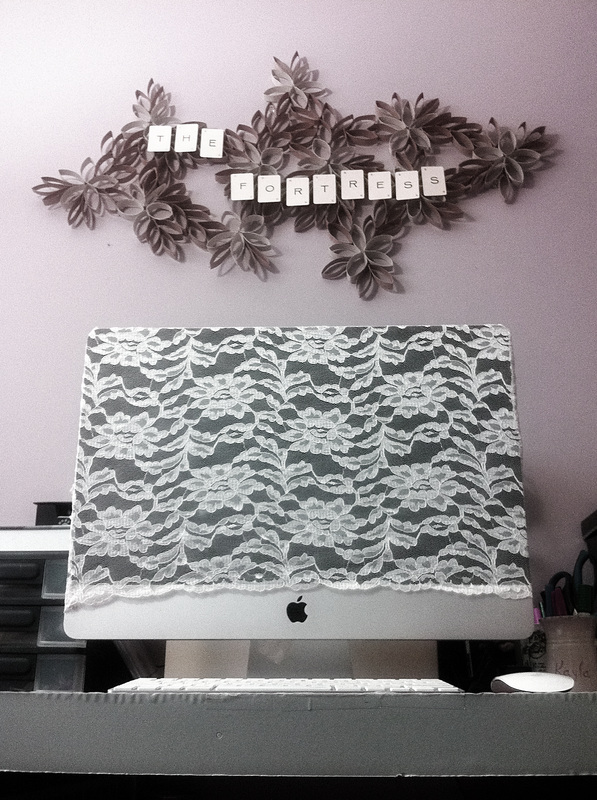
And I will close on the note that now that I am (trying to keep) blogging regularly with pictures, I really do intend on prioritizing getting a new camera and installing new lights in my room. My camera has sand dust in the lens and well, as you can see: super grainy pictures. As for the lights, the lack of good light has been an on going issue; I'm normally balancing my floor lamp on my shoulder to try and get sufficient light for a photo since I have no overhead lighting in my room. So I apologize for all that.
Happy crafting!


 RSS Feed